Troubleshooting the Muffsy Phono Preamp PP-3 and Power Supply v3
Over five hundred Muffsy Phono Preamps have been successfully built, which is a good testament to the reliability of the kit. Problems can arise, and here are some useful tips on how to identify any mistakes.
Be aware that in seven out of ten times, the problem is that the power supply is connected to a DC power adapter. You'll need an AC power adapter, a list of adapters is maintained here: Enclosure and AC Adapter
Inspect the boards and connections
- Make sure all the components are mounted, and that the orientation is correct
- See if all component leads are soldered, and check for bad solder joints or shortcuts between the joints
- Cut all leads underneath the boards so that they are flush with the solder joint
- Check that no leads on either sides of the boards are touching each other
- Double-check all the connections between the boards and to the back panel
- Don't let the bottom of the boards, or the component leads touch the enclosure
Pay special attention to all cable connections and double-check that they are correct.
Make sure that the phono connectors don't have any shims on the inside of the back panel. There are ground connections on the inside of the back panel that connect all the RCA connectors and the ground screw.

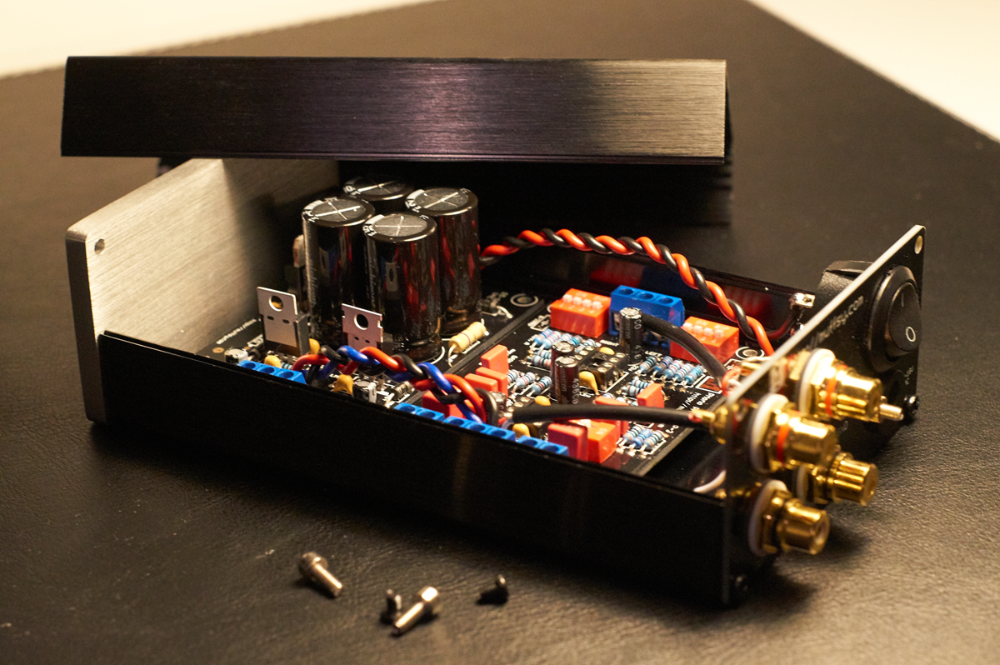
Make sure that the AC power cabling goes in an arc over the input connector, as shown in the picture below. This is to prevent AC noise from entering the inputs.
Measure the Muffsy Power Supply
The board needs to have power, and you can measure the following points:
- AC Input:
Set the multimeter to "Volts AC", you should expect something between 15-20V AC. - Voltage Doubler:
Set the multimeter to "Volts DC", you should expect anything between 35-50V DC on the 4.7 ohm resistors outputs. - Regulated Power:
Set the multimeter to "Volts DC". You should expect to be relatively close to +15V DC and -15V DC on the two outputs.
The voltages on the input and at the voltage doubler can vary quite a bit depending on your AC adapter and the power that comes out of your mains socket.
The voltages on the output should be relatively close to +/-15V DC. It can vary between 14.8 and 15.2V, which is because the regulator resistors aren't matched. This is no problem though, the op amps needs to swing between -10V and +10V at the very most.

Measure the Muffsy Phono Preamp
If the Power Supply measures fine, go on to measure the Phono Preamp:
- Disconnect the power from the phono stage
- Do not install the operational amplifiers (remove them if they already are in place)
- Disconnect the phono stage from your turntable and amplifier
- Connect the power to the phono stageTurn on the power
- Bring out your multimeter, set it to Volts DC, and perform the tests below. The red arrow is the positive probe, the gray arrow is the negative probe.
- Pin 4 on the op amp must be -15V DC
- Pin 8 on the op amp must be +15V DC
- If the tests are correct, turn off the power and mount the op amps. Make sure that the orientation is correct.

Summary
If any of these tests fail, go back and start from the beginning to make sure everything is correct. Focus on:
- Making sure that you have an AC power adapter. Using a DC adapter will give power on only +15V or -15V, depending on how the power cable is connected
- Component placement and orientation
- Solder joint quality, make sure that everything is soldered and that there are no short circuits
- Cable connections. Everything must be connected, and connected correctly
- Checking that no component leads or solder joints are touching your enclosure
- If the power supply connections have been connected in the wrong way (wrong polarity, or connected to the signal output), the operational amplifiers can break. An awfull burr/motorboat noise or a squealing noise are good indications of this.
To complete the troubleshooting, you may have to spend some time going back to the build instructions and checking each step carefully.