Audio Wiring for the Muffsy Phono Preamp
With the phono stage and the back panel built, you can now connect the audio wires.
The audio wires will connect the phono stage and the back panel, making these connections:
- Audio input
- Audio output
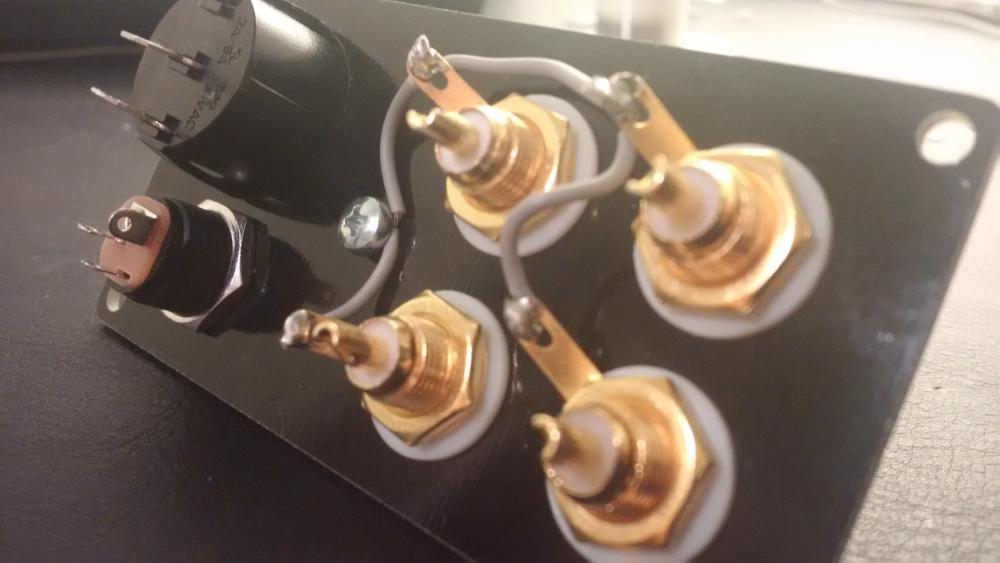
Here's the back panel, with the grounding (gray cable) already done:
Audio in/out - Back Panel
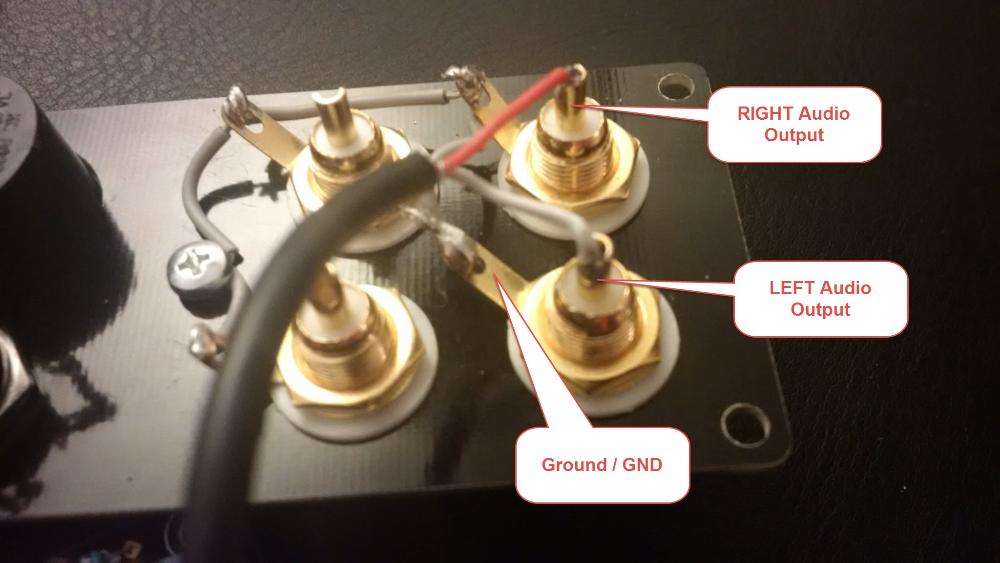
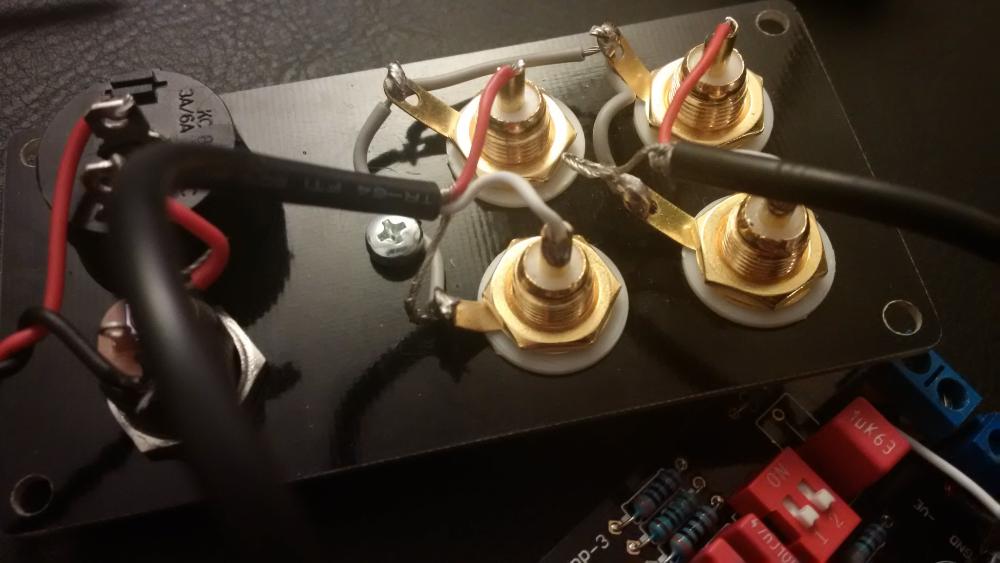
Next in line is to cable the input and output RCA connectors. You will need two audio cables, one for the input and one for the output. The lengths of the cables are decided by the distance between the phono stage and the back panel.
Here's a close-up of the back panel with the output cabling already soldered:
The cable used here is a two-lead audio cable with shield. You should always use a shielded cable for the audio input, as the signal from your turntable is very low. Such a cable is of course included with the Muffsy Phono Preamp Kit.
For audio cables, you will always see these colors:
- Right Channel: Red
- Left Channel: White or Black
Audio in/out - Phono Stage
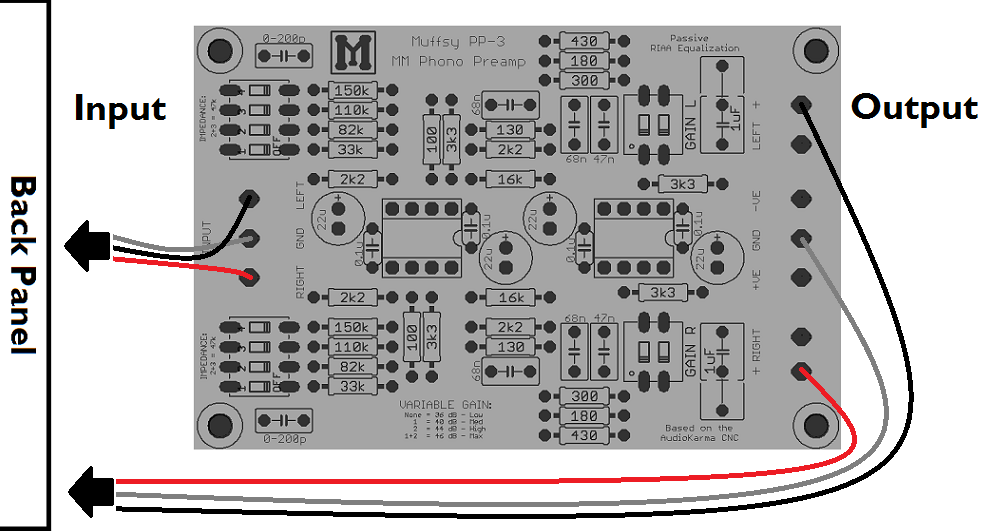
The two audio cables connected to the back panel now need to be hooked up to the phono stage terminal screws like this:
It is advised to keep the input side of the phono stage board closest to the back panel. Keeping the input cable as short as possible will help avoid interference, and the cable capacitance will be kept to a minimum.
Should you decide to use unshielded cables, make sure to twist or braid them to avoid any unnecessary noise entering into the circuit.
With this step done, you have finalized the audio wiring, and you are ready to go on to powering the Muffsy Phono Preamp..


