It's become evident that I need a better solution for photographing my projects. So I went out and bought some surprisingly cheap LED panels:

But then I had no idea on how to build this into a suitable light box. So I spent the time buying suitably sized vinyl backdrops and some clamps from the UK based eBay seller photogeeks11. I can't thank the seller enough, small sized vinyl backdrops are very hard to find. They are also of excellent quality.

.png "Mini clamps")

My first lightbox...
The first lightbox was three pieces of scrapped wooden planks. Just to hang the backdrops from. The two side LED panels leaned against the planks, and I managed to somehow balance the top LED panel long enough to take one picture. Then it all crumbled and fell to the floor. (Nothing broke, luckily.)

It did produce one good picture before the whole construction fell apart though. Keep in mind that this is taken using my Galaxy S7 Edge with default settings.

Rethinking the lightbox (the one that didn't fall apart)
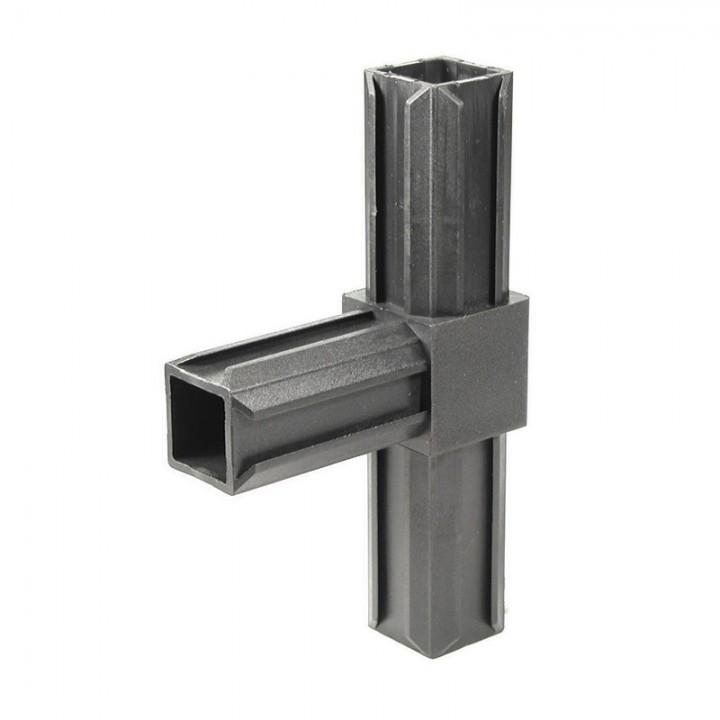
Since I wasn't in the mood for having my (albeit cheap) LED panels crushed, I set out looking for alternatives to scrap wood. I finally found some nice square aluminum tubing and plastic joints.
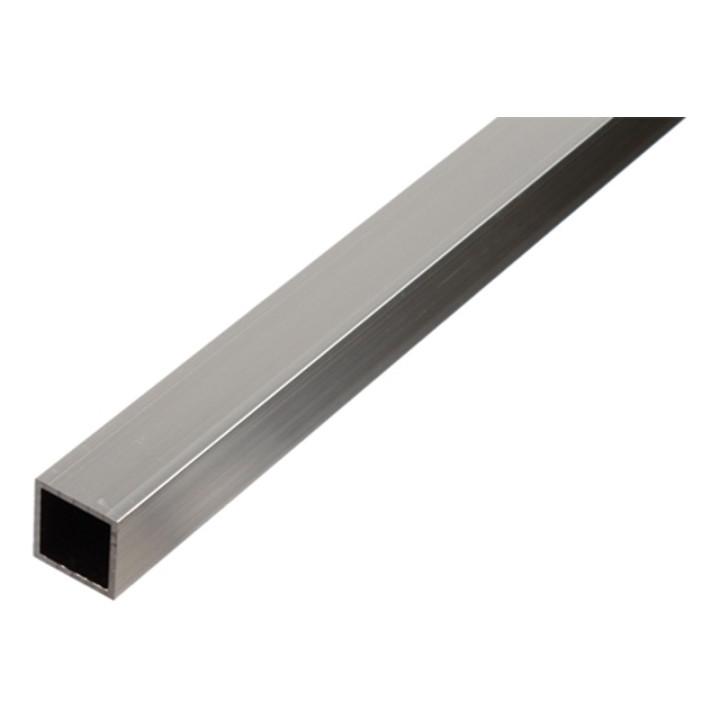
.jpg)
With the building material in playce, I brought out my trusty old (and very dull) hacksaw and started construction. Here's the result:


The plastic joints had to be hammered into the tubing, and I was a bit worried that I would never be able to disassemble the light box (it's big, and I don't have that much space). Luckily, the plastic sort of shaved off. Using the hammer, I was able to take it apart.
While still a very snug fit - which is good, the lightbox is nice and stable - I'm able to pull the tubes apart so I can store the lightbox when it's not in use.
Pictures, or it didn't happen!
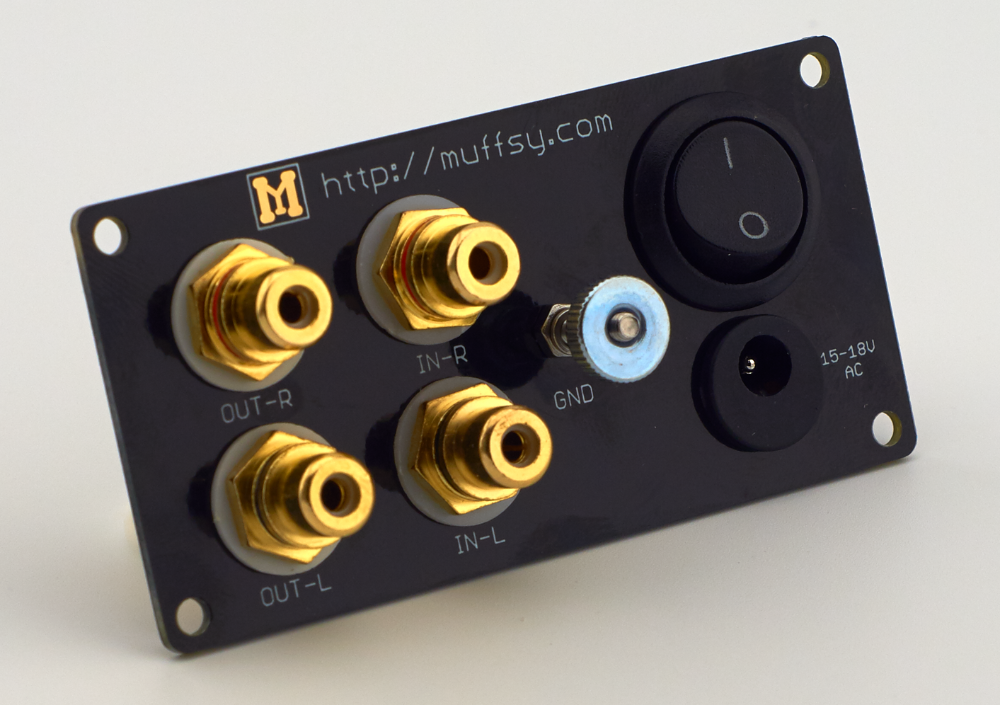
Well, I have only one picture. It's of my B&O IcePower module, on white vinyl backdrop.
This picture is also taken with my Galaxy S7 (the system camera is now on a tripod in front of the light box). I had to change exposure, and do some post-editing though.

I think that's quite a beautiful result. Now that I have the system camera mounted, I've finally found my lightbox solution.
It wasn't exactly cheap though, it came in at just above US$ 300. It's tailor made to my needs, which is why we all do the DIY-thingie in the first place. Right?
Update: Picture taken with the system camera
Here's the Muffsy Back Panel photographed with my Sony Alpha 5000 with a Minolta MD Rokkor 50mm f/1.7:
...and the camera itself:
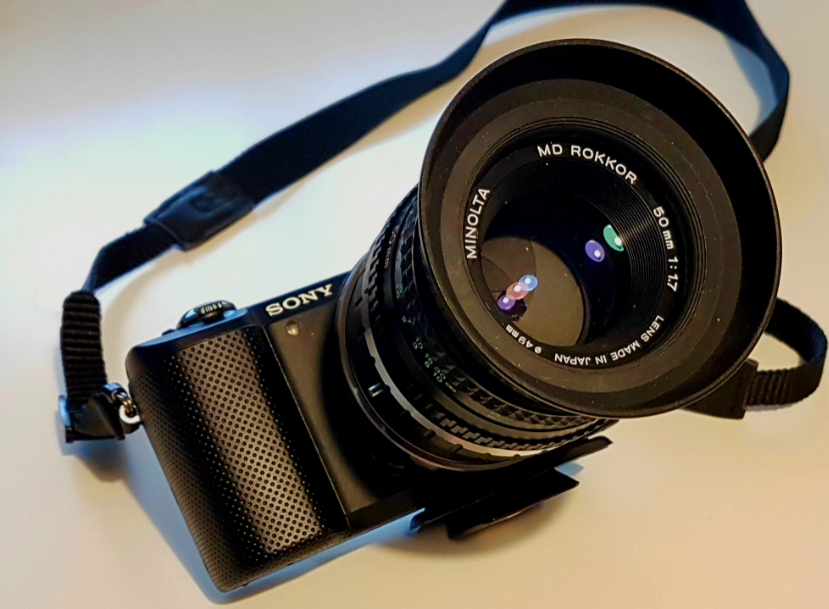
The Sony Alpha 5000, with its 20 megapixel APS-C sensor, is really great as a manual camera. It's got no viewfinder or fancy autofocus, so I wouldn't use it to shoot sports pics. Or outdoors, due to the relatively dim LCD monitor...
The range of vintage lenses that can be used with the Sony Alpha (E-mount) cameras is almost endless, since there are adapters available for most lenses. Check out the YouTube channel AdaptedAlpha to see lots of examples of older lenses being used with the Sony E-mount cameras.